Floral Series: Lilacs
I've always loved "inspo" looks based off series and I've watched plenty of videos of them, as well as seen many on Instagram. I wanted to try my hand at one. Although, I think creating looks from shows/movies for inspiration is really cool, I still wanted to keep my first "series" a little simpler. I've seen so many series of gemstones and really like the idea of it, but instead I thought I would try to do one that I personally haven't seen before. Even though I'm highly sure a floral one has been done. I want to keep the inspo just from the actual image of a flower and create a look based off of it!
A series is such a fun idea and it really is a great way to get creative, especially on the days when you feel repetitive with your makeup and want a change.
For the next couple of months (every other Thursday blog) I will be creating looks from floral images and I think it's perfect for the spring time! I was in such a purple mood this day so I chose Lilacs to be my first look. If you want to see how I created this look then keep on reading.


Products Used:
 |
| dr. brandt Pores No More Luminizer Primer e.l.f. Flawless Finish Foundation (porcelain) Makeup Revolution Conceal & Define Concealer (C1) Too Faced Born This Way Ethereal Setting Powder |
 |
| Tarte Hamptons Weekender Contour Palette (farmer's market, summer house, & beach getaway) Too Faced Lip Injection Extreme Colour Pop Amber Setting Spray |
 |
| Face Brushes Used: Morphe E6 (foundation) Morphe Highlight & Contour Sponge (concealer & powder) not pictured Morphe G5 (powder) Tarte Artist Collection (contour/bronzer) Morpheme E34 (blush) Morpheme E61 (highlight) |
 |
| Colour Pop Z Palette Bh Cosmetics Shaaanxo The Remix Palette |
 |
| I took the top left pale shade (clarity) as my base shade, then I added just a little of the yellow shade (buttercup) that is right under the first shade just in the crease. |
 |
| Next I flipped the palette to the other side and added the purple shade (lover) to my crease as well to start the purples in this look. |
 |
| I used these three gorgeous shades from my Colour Pop Z Palette. I put the light pink shade (so jaded) all over the lid and I also highlighted my very inner corner and brow bone area with it. Then I added the brighter purple shade (crown jewel) to my crease and really blended this shade around. I blended upwards with it and even took it down my lid as well, just keeping enough pink showing through above and below the purples. I also cat eyed this shade out to a point. Touch ups were needed with the pink shade. Although I loved the look there I still wanted to throw the darker purple shade (hung up) in the outer corner and some in the crease just to add more to the purple color range and because I was loving the darker lilacs in the photo. I added the pink shade (so jaded) to the inner part of my lower lash line. |
|
| To finish the eyeshadow I switched it up a little and wanted to keep the pink on the edges to mimic the lilac so I took the bottom left pink matte shade (bestie) and added that on the rest of my lower lash line. |
 |
| Eye Brushes Used: Anastasia Beverly Hills Duo Blender & Shader ( crease & lower lash line) Finger (lid) XO Beauty Vegan Eyeshadow (very inner corner and brow bone) |
 |
| It! Cosmetics Universal Brow Pencil L'oreal Voluminous Lash Paradise Mascara Aurora Ultimate Matt Liquid Lipstick (fairy) |
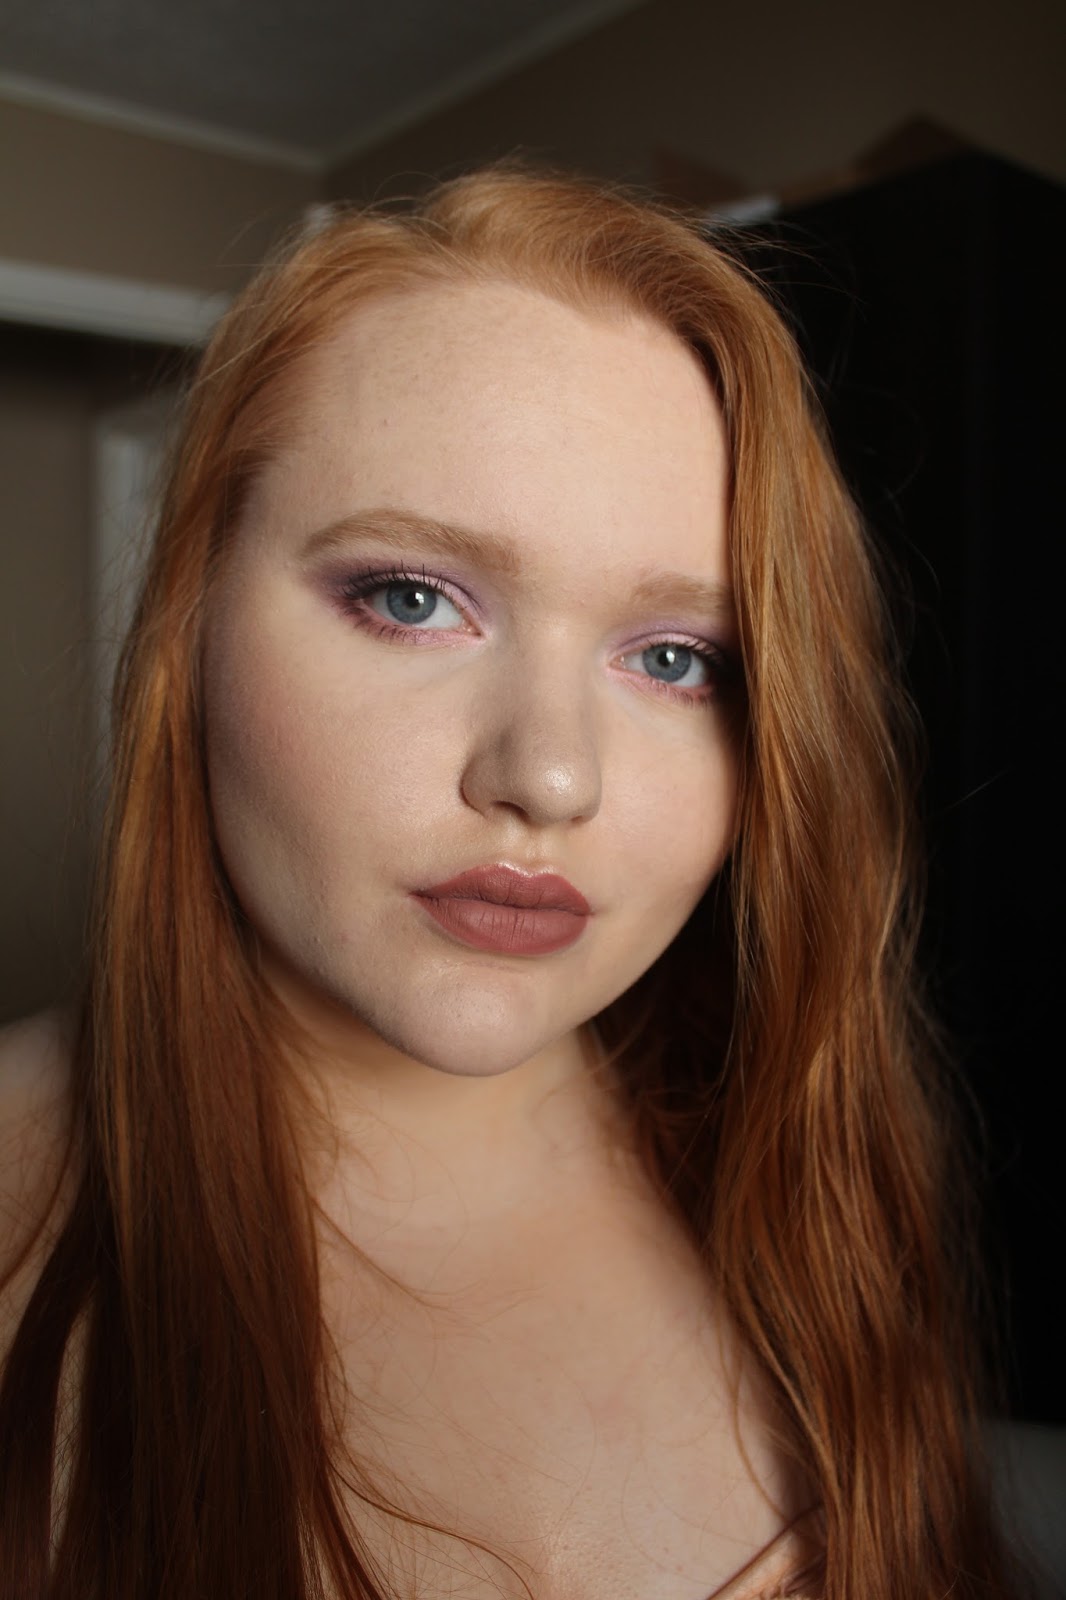
Finished look;


More Blogs:
Socials:
Instagram: @allisonhunt_2
Facebook: @AllyBrianne
Twitter: @allybrianne1407
Snapchat: allybrianne24
Youtube: https://www.youtube.com/channel/UCx4dKmpm8XJFQat_80UcloA?view_as=subscriber
Blog: https://bitsofsunshine1407.blogspot.com
This blog is not sponsored. Links listed are affiliate links. Affiliate links provide a small commission off of each purchase, which helps me purchase more items to review/use on my Blog and Youtube. Any opinions or reviews on the products are my own. I want to give you the most honest reviews I can!
Thanks for supporting my Blog & Channel! XO
Comments
Post a Comment